kathy@kathyschrock.net

Monday, November 30, 2020

IPEVO's Uplift and iDocCam make a perfect pair!

Although having a dedicated document camera, like IPEVO's DO-CAM which I reviewed here, there is another great solution from IPEVO that takes advantage of using your own smartphone as the document camera feed.

The IPEVO Uplift is a multi-angle arm for smartphones. You simply insert your smartphone in the padded clip, and adjust the arm to any angle or orientation you want to! The sturdy base keeps the IPEVO Uplift from tipping over. 


You can use your phone attached to the Uplift as a Webcam to show your face and arms when you are demonstrating a science lab or a basketball move, showcase a page in a book or a text piece, use it for holding the phone still when you are creating a stop-motion animation, do a close-up on an object, and it allows you to use your hands to record a paper slide or Common Craft-type video for your students!


There are two secret sotware ingredients to this process. The first is the IPEVO Visualizer software (no cost) which is available for Mac, Windows, and Chrome. The IPEVO Visualizer allows you to display the video from any camera feed, record it, modify it, and more. You can use it to show what your camera sees, either on a big screen or in an online video conferencing app.

With Visualizer you can adjust the displayed image in various ways. You can zoom in, rotate, mirror, change the resolution, adjust exposure, apply a video filter, take a snapshot, and more! 

The second secret ingredient is IPEVO's iDocCam app (iOS/Android) which allows you, in conjunction with the Visualizer software on your computer, to select your smartphone as the camera source for the desktop if the two items are on the same network. 

You can then wirelessly view, control, or adjust the live images captured by your smartphone's camera, such as educational instructions, worksheets, training guides, presentation notes using the Visualizer software.

IPEVO's iDocCam is not free, but is priced as a monthly or yearly subscription or you can purchase it outright. If you purchase an IPEVO Uplift, you get six months of iDocCam use included right now!

______________________________________________________________________

I did not receive any monetary compensation from IPEVO for writing this article. I did receive a copy of the iDocCam app and the Uplift Multi-Angle Arm so I could try things out!


Monday, August 31, 2020

IPEVO's Mirror-Cam

IPEVO is always coming up with useful, low-cost ways to help teachers support teaching and learning. From the early days of the Point-to-View (P2V) small document camera to their current line of powerful document cameras, IPEVO's new Mirror-Cam is a game-changer! It utilizes your webcam and your keyboard area to project an object, books, or papers to your computer. The Mirror-Cam is the perfect addition to your videoconferencing toolbox.

The mirror inside of the Mirror-Cam reflects the keyboard area of your laptop and your webcam perfectly captures the reflected image.


The Mirror-Cam comes in a set of six. You simply assemble them, and set the Mirror-Cam on the top edge of your laptop screen, covering the webcam. It is easy to attach and take off, so your webcam is still accessible for presenting, too. And the Mirror-Cam folds down easily to keep it in your computer accessories bag.


Watch the video to learn more!


(Update 9/10/20) The Mirror-Cam is back in stock now! And, at least right now, there is no limit on the number that can be purchased!


While you visit IPEVO's store page, take a look at some of their other offerings. I have recently reviewed the portable DO-CAM and the upgraded VZ-R document camera. (BTW, I receive the devices from IPEVO to review, but I don't get any money if you purchase the items.)

TRYING IT OUT!

In the video below, I started from scratch, assembled and "installed" the Mirror-Cam, and showed a few projections from items sitting on my laptop keyboard!


Wednesday, August 19, 2020

IPEVO's cool new DO-CAM

Since many K-12 schools and universities may still be including some type of remote or blended teaching and learning in the education mix for this coming school year, having a document camera can help support both the students in the classroom and those watching online. In addition, when meeting with students for content support, a doc cam can allow you to show the doc cam video in a Zoom or Google Meet window for the students.

Since many lessons include both digital and analog assets, like math manipulatives, science lab materials, and textbooks, a document camera can support the times educators need to show the student something -- whether it be a demo of a art lesson, a certain passage in a book, or the process of assembling a robotic component.

IPEVO has a host of document cameras available, and I recently reviewed their newly updated IPEVO VZ-R HDMI/USB Dual Mode 8 MP Document Camera. This document camera has a ton of features including HDMI connections, easy focus, and many more. 

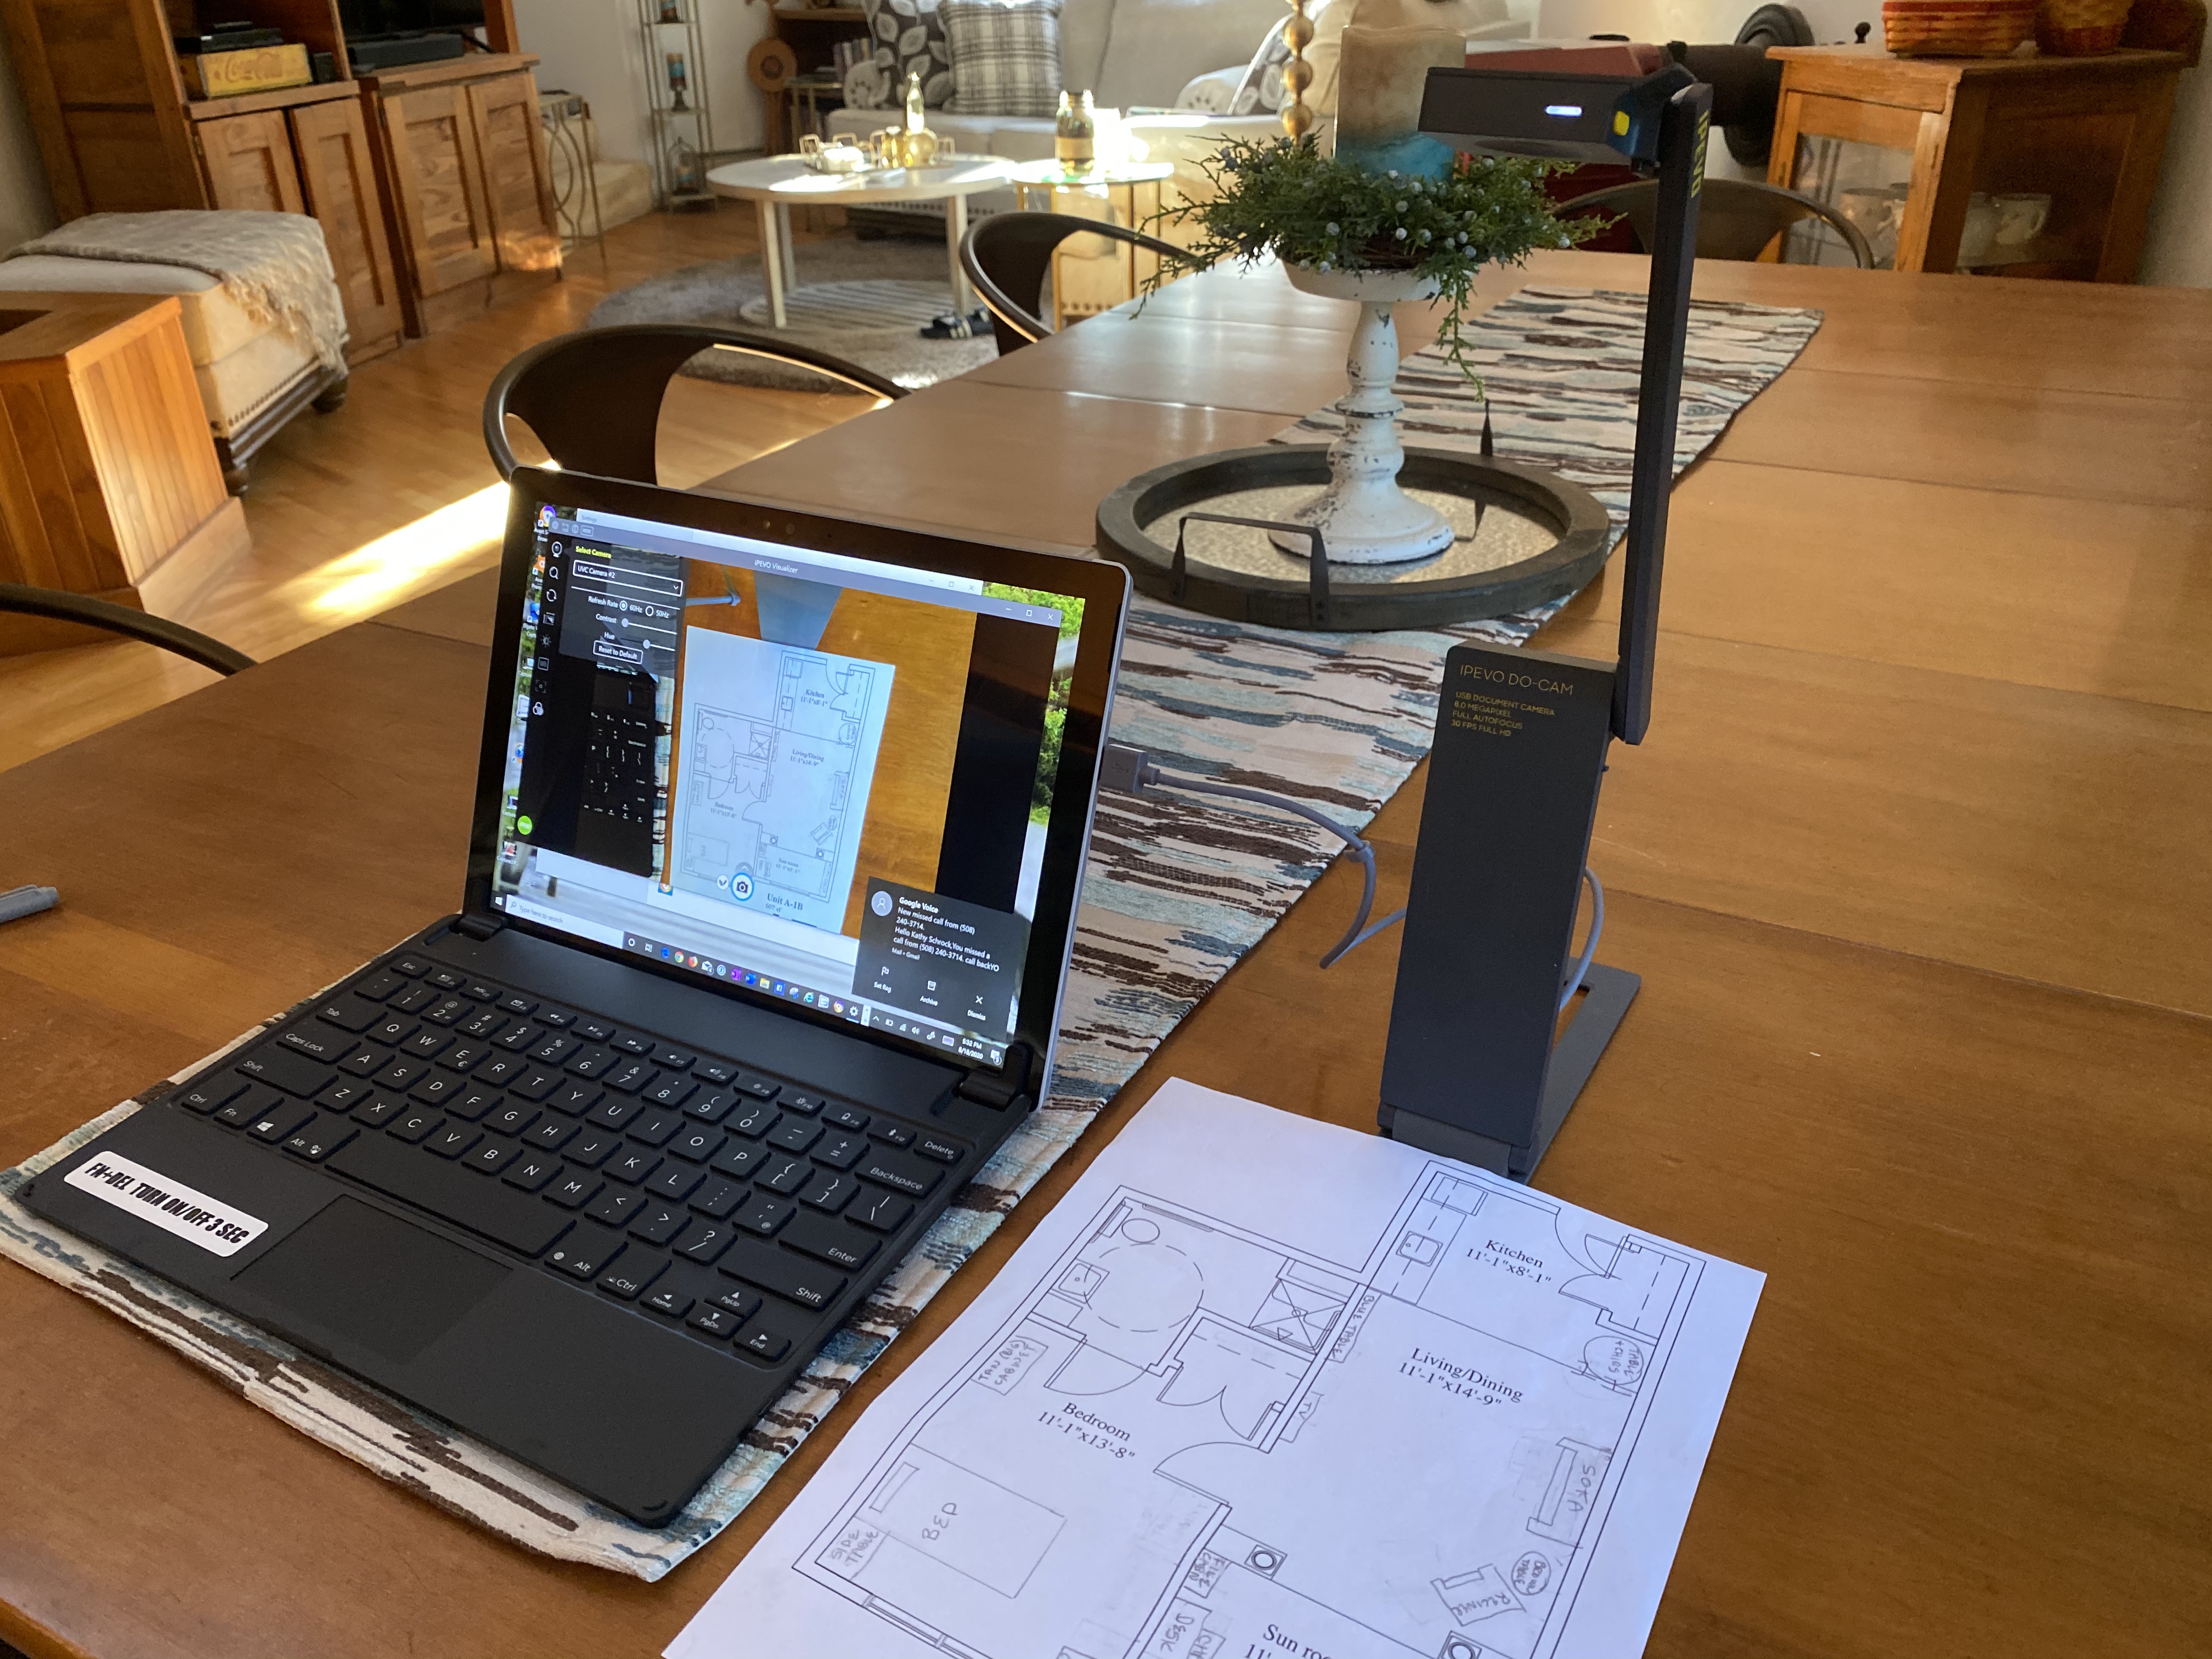
However, many teachers just need a simple document camera to showcase work, writing or book pages as part of a lesson. Or they may need to record the lesson for student review, too! The new IPEVO DO-CAM HD Ultraportable 8MP USB Document Camera /Webcam fits the bill, and it is also becomes an external Web camera by just flipping up the top!


At a $129 list price, this lightweight (12 oz.), USB-powered device is the perfect addition to your desk at school or at home. It is easy to carry the IPEVO DO-CAM back and forth from home if you need to -- it has a small footprint and and a handy cable storage system. It works with Windows, Mac, and Chromebook computers. (The DO-CAM does not have a microphone, so you will have to use the mic in your computer or an external mic.)


The DO-CAM can be used to project a full sheet of paper and any 3D object. And, as I stated before, it can be used as a Web cam for your face, or for showcasing a student in the classroom who is demonstrating something. The DO-CAM can be used for many creative purposes! 


The DO-CAM works with IPEVO's free Visualizer software which is available for Windows, Mac, and ChromeOS. This software includes tons of ways to take advantage of the DO-CAM.
  • Snapshot
  • Videorecording
  • Slow motion recording
  • Live broadcast
  • Time-lapse recording
  • Scanning a QR code or a document
  • Magnify
  • Stop-motion
  • Split-screen
IPEVO also offers a tool called IPEVO CamControl for your Mac or Windows computer which allows you to control and adjust some basic image settings of your IPEVO USB document camera’s live images when you use it with third-party video conferencing software.

Scholastic provided some great ideas for use of a document camera in their article titled Tech Primer: Document Cameras. And the TECHNOKids site provides some interesting ways to use an external Web cam in the classroom, too!


DO-CAM FEATURES 

Image quality: DO-CAM comes with an 8MP Sony CMOS image sensor for exceptional performance in noise reduction and color reproduction. Capture details of your materials in Ultra HD resolution up to 3264 x 2448

2-in-1 Document Camera and Webcam: Flip the camera head of DO-CAM to switch back and forth between document sharing and ‘face to face’ communication. The Flip Button allows you to pick the correct image orientation at all times.

Lightweight and compact: Being the lightest on the market at 0.74lbs (335g), and having the size of a handheld pencil case, DO-CAM is convenient to use, store, and carry around.

The utmost stability and flexibility: All of DO-CAM's interconnected sections are fully adjustable to capture your content at different heights, angles, and orientations. A cable holder has been incorporated to store the attached cable.

UVC Camera compatibility: DO-CAM is USB Plug & Play compatible with MAC, PC and Chromebook. Use it with IPEVO's Visualizer software and any other third-party software of your choice.

Take a look at the IPEVO DO-CAM here and find out more about it! And this page from IPEVO includes the set-up for use of the DO-CAM with Zoom, Webex, Microsoft Teams and more, as well as a list of compatible software it works with, such as Camtasia, Google Meet, Skype, and more.

Friday, July 10, 2020

Laser Cutters in the Classroom

I have long been a user of the paper cutting machines you see in craft stores. I have a Silhouette Cameo machine that I use for making cards and vinyl objects for decoration. It is so much fun!

I have been intrigued by the CO2 laser cutters/engravers which can cut or engrave cardboard, wood, leather, plastic, metal, acrylic, rubber, and glass up to a certain thickness.

THE FLUX BEAMO

FLUX, a CO2 laser cutter/engraver company, asked me to take one of their models for a spin and find resources to support their use in the K-12 environment.

The FLUX Beamo CO2 Laser Cutter & Engraver ($1899), seen below, is compact and has many of the features of the more expensive cutters on the market.

FLUX Beamo

________________________________________________________

The Beamo can cut and/or engrave on various materials

   Cut and/or engrave      Engrave only 
  • Cardboard
  • Wood
  • Bamboo
  • Leather
  • Acrylic

  • Fabric
  • Rubber
  • Cement
  • Glass
  • Stone
  • Anode metal
  • Stainless steel      


                 Meet the FLUX Beamo


The FLUX Beamo includes software for designing and printing (Beam Studio), but  students can use many other design software programs like Autocad, Adobe Photoshop, Adobe Illustrator, or any software that can export out as a JPG, PNG, SVG or DXF file.

Here are links to a few Beam Studio online tutorials: 1 | 2 | 3


The set-up of the FLUX Beamo was easy and the manual that came with it took me step-by-step through all the things I needed to do. The LCD panel was bright and easy to navigate. I attached the Beamo to the WiFi network in my home (you can also use Ethernet if you wish), downloaded the design software to my Mac, and updated the firmware in the Beamo via a USB drive. I also vented the Beamo out the window to avoid any fumes in the basement. (FLUX offers an Air Fume Extractor for the classroom so you would not need to vent it out a window.)

I used a 4.5" square piece of ⅛" wood and loaded a sample item, found in the Beam Studio software, to print. There is a camera in the Beamo that allows you to see, when in the software, where the item will be printed on your material. It took about 4 minutes for the Beamo to first engrave and then cut out the item.


Below is the finished product. And I went from unboxing to set-up to upgrading firmware to learning the software and to printing in about 1.5 hours! The learning curve was really small since the documentation was so well-done. 

Want to find out more? Here is the link to the Beamo Guide and Beam Studio Guide.


And my first project of my own design is below: 


USING BEAMO IN THE CLASSROOM

There are many online resources that include tons of great ideas for the use of a laser cutter to support the curriculum and school community. Following are overviews of the ones I thought were most helpful. 

Most resources target student use of laser cutters at the middle and high school levels. However, as we found out with 3D printers, students of all ages can create a design and the final product can be printed out by an adult. 

One very cool feature of the FLUX Beamo Go app (iOS and Android) is that a student can draw a design on paper, use a phone or iPad to take a picture of it, send it to the Beamo and print it out. This method easily allows students to create projects with the Beamo laser cutter!


RESOURCES


This 158-page handbook was compiled with ideas from many of the educational experts in the fields of constructing and creating. There are ideas for many constructivist projects using various tools. I did a search of the PDF for "laser". There was information on what students learn during both the design process and the machine cutting process, which included ratio, tools, unit, scale, and other math skills and also learning how a laser works. (10)

In another project, included by Susanna Tesconi, students go through the design thinking process, and, during the prototyping stage, if the laser-cut object needs to be re-worked, each student has a box where they put their "failures". At the end of the unit, students explain how their journey to success was helped by each of the prototypes. (36)

Heather Allen Pang outlines how she taught a unit on the history of telecommunications and had pairs of students create their own telegraph. She cut out the bases on the laser cutter, but students wired and tested their telegraphs. (79) 

Another project supplied by Pang is having students create silhouettes that are laser-cut. This project brings history and new technology together. (84)
 
Mark Schreiber has his high school students make an ugly Christmas sweater by using all types of materials, many of which include electronics for the sweaters to blink and play music. However, he has them use the laser cutter for cutting out the felt objects for the sweaters. (89)

There are many more ideas in this free book including parent and teacher collaboration. Make sure to download it! 

________________________________________________________________ 


Although this guidebook for high school level students was put out by another laser cutter manufacturer, it includes the rationale you might need when asking for a laser cutter/engraver to be put in the budget.

This document includes ideas for both curriculum support projects and also ways in which the school can both save money (making plaques) and make money (selling school-themed keychains in the school store).

________________________________________________________________ 
 

Trotec, another laser cutter manufacturer, offers another great resource which would be applicable for middle and high school. This PDF includes categories which outline learning outcomes, instructional strategies, assessments, and additional learning resources for each of them. The categories are:
  • Personal and project management
  • Science and history
  • Materials
  • Supporting tools
  • Laser operation
  • Graphic essentials
  • Health and safety
________________________________________________________________ 


This site includes links to instructions for easy projects to have students create with a laser cutter.


________________________________________________________________ 

LASER CUTTERS AND STEM
________________________________________________________________

TOOLS TO USE

    ________________________________________________________________

    I hope I have supplied you with some great reasons and ideas to purchase a FLUX Beamo CO2 Laser Cutter & Engraver for your classroom, Makerspace, or STEM lab. 

    With its small footprint, easy-to-use functions, and low cost, once you get one and start students creating projects to support the curriculum, raise money for a field trip, or make up the award plaques for the assembly, you will wonder why you did not purchase the Beamo sooner!

    For updated links, visit my site here: https://www.schrockguide.net/lasercutters.html


    Monday, July 06, 2020

    IPEVO VZ-R HDMI/USB Dual Mode 8MP Document Camera

    IPEVO has been offering document cameras for schools for many years. Many of us started with their their first offering, the IPEVO P2V (Point to View) USB camera with its removable camera. (Who remembers the thrill the students got when they could show a bug at close range and full screen? Ugh.) That low-cost ($69) device demonstrated to us how effective a document camera could be in supporting teaching and learning.

    IPEVO P2V CAMERA (2009)

    ________________________________

    OVERVIEW

    Fast forward to mid-2020, and IPEVO has just released their 8th gen model, the newly updated IPEVO VZ-R HDMI/USB document camera. This camera has functions we could only dream of in those early P2V days!

    IPEVO VZ-R USB CONNECTION TO LAPTOP OR DESKTOP (2020)
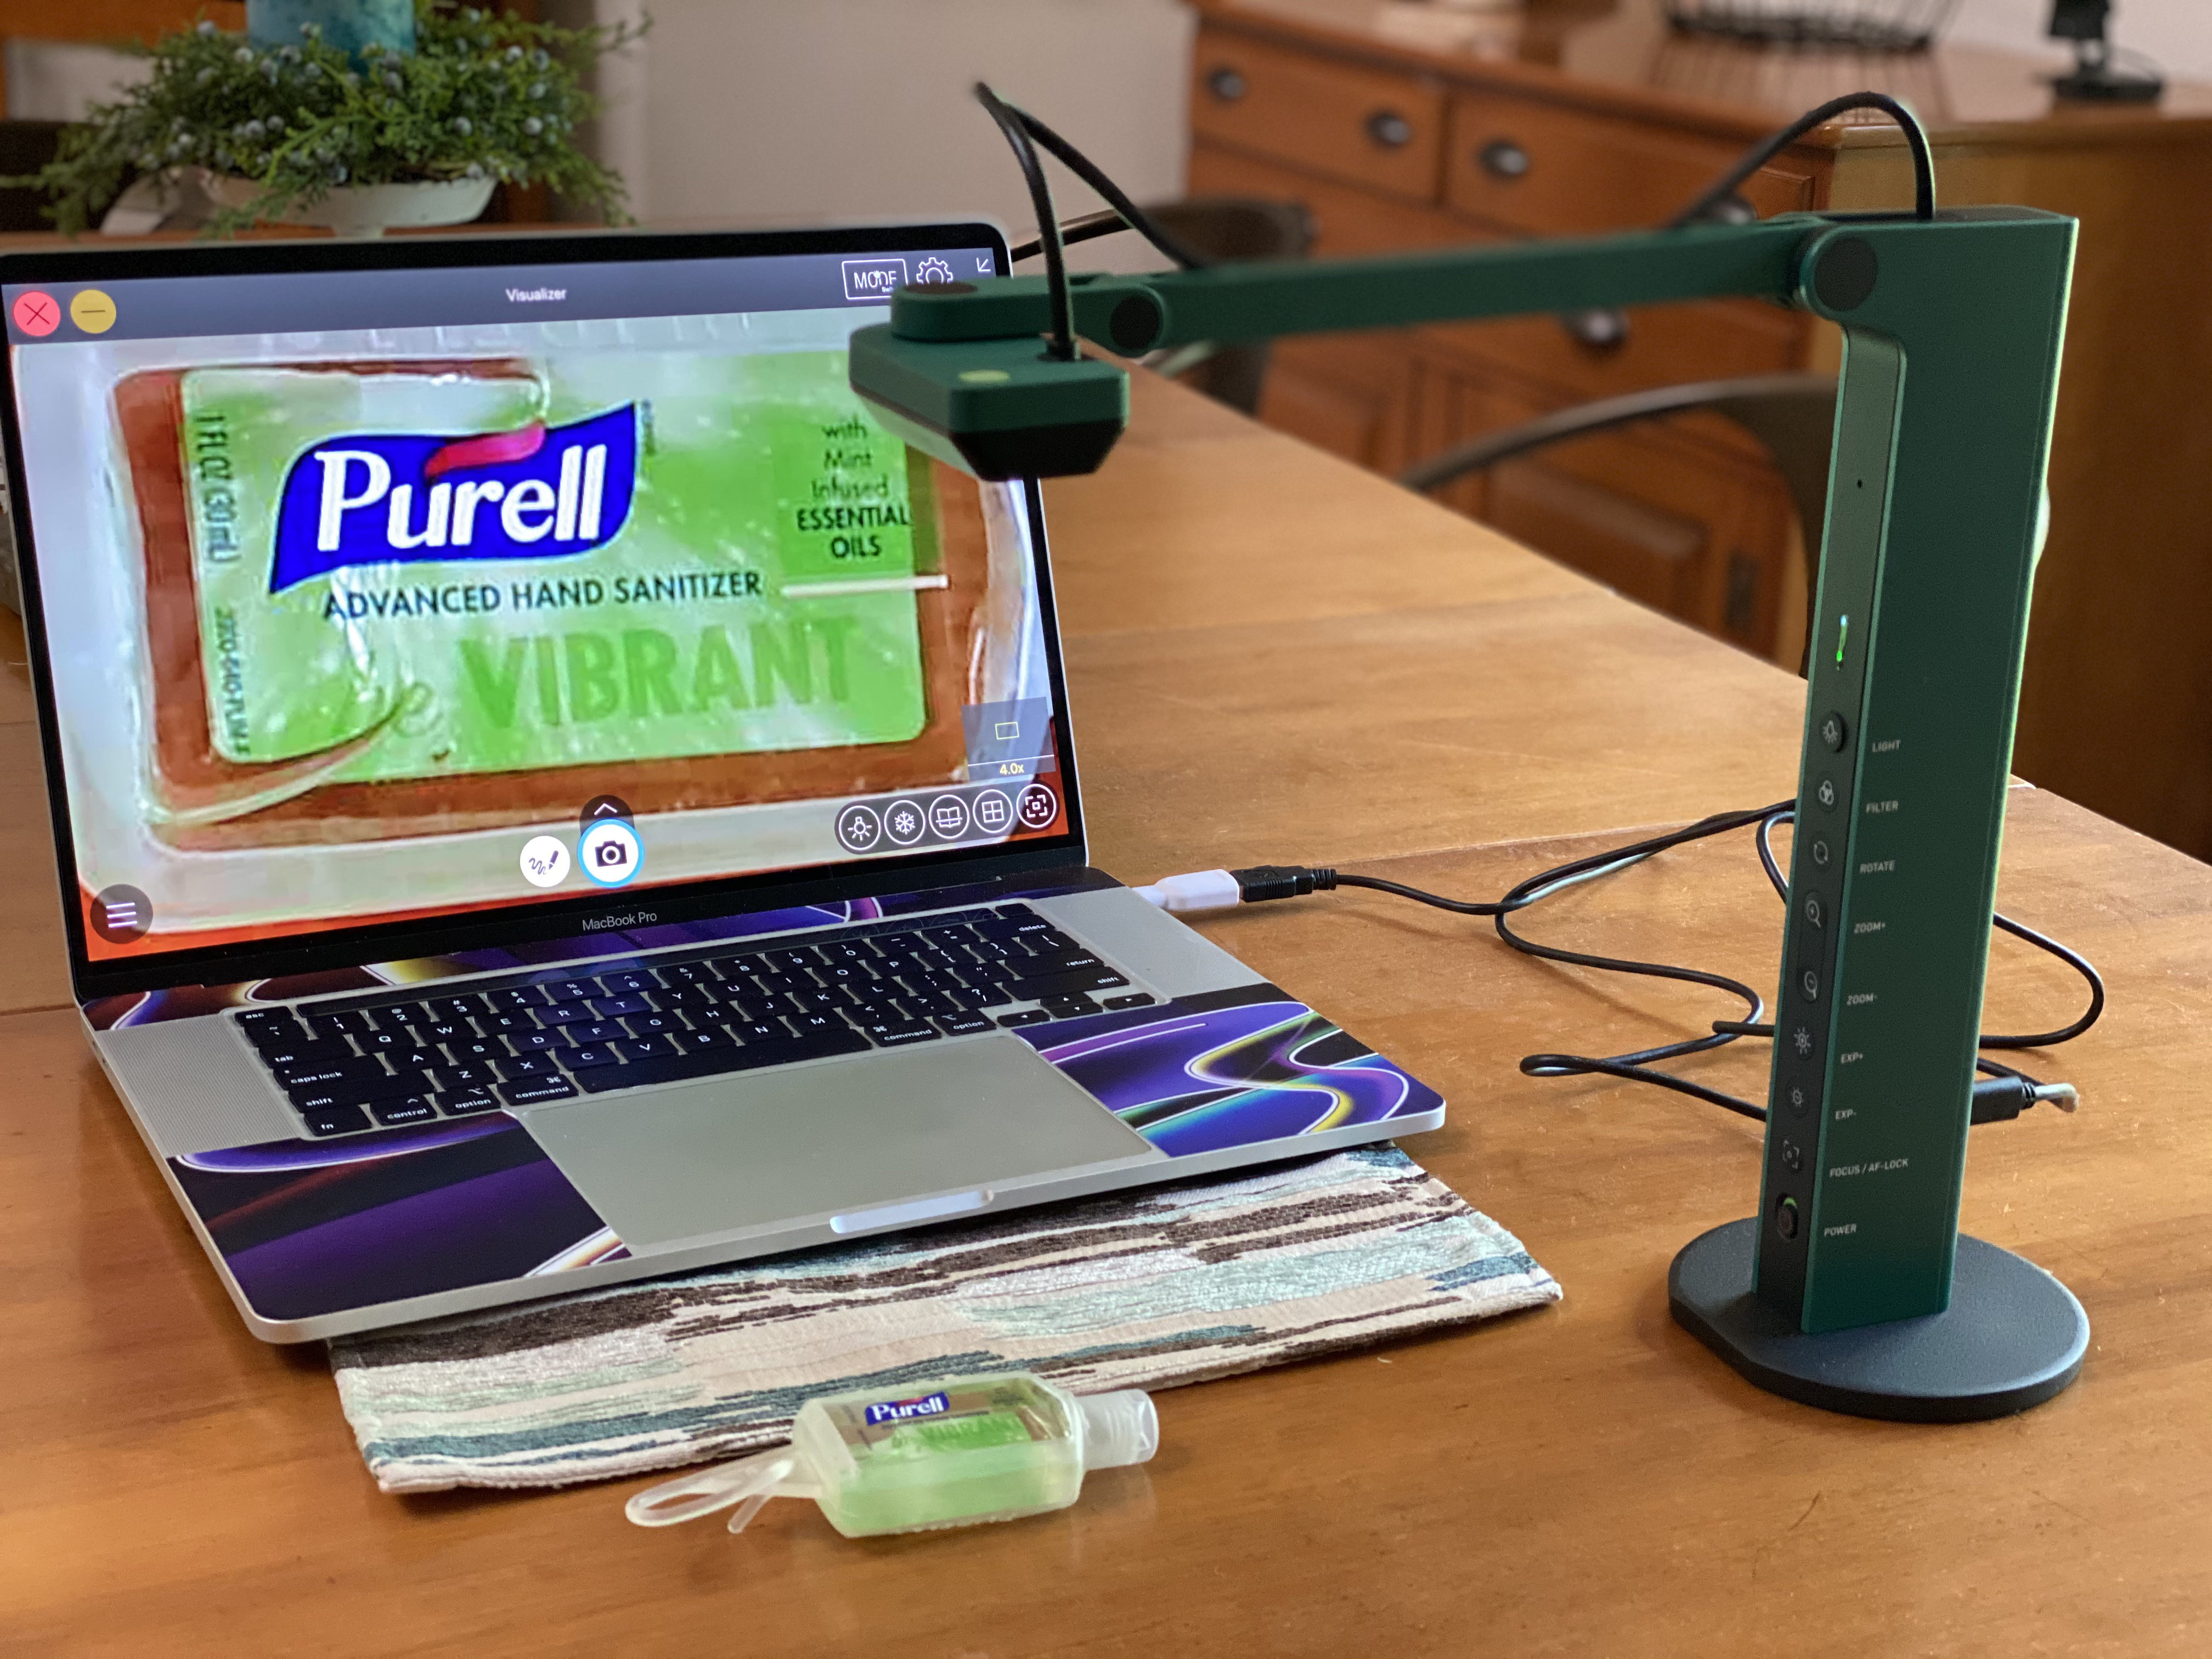
    Of course, true to its roots, the IPEVO VZ-R HDMI/USB can attach to a laptop, Chromebook, or computer desktop via a USB cable, and mirror what is on the "stage" for recording and sharing a screen of information with others. IPEVO offers two free software programs to support this: Visualizer and Visualizer LTSE (accessibility software to use with the document camera).
    ________________________________________________

    USING THE IPEVO DOC CAMERA FOR REMOTE LEARNING

    The IPEVO VZ-R HDMI/USB, using the USB mode, can be used to support remote  teaching, learning, and meetings. When in USB mode, the IPEVO VZ-R HDMI/USB also activates a built in microphone!

    Many educators are submitting their uses of the IPEVO document cameras and sharing them with the rest of us.

    IPEVO offers printed step-by-step guides for using the IPEVO VZ-R HDMI/USB in USB mode with some of the most popular online collaboration tools.
    ____________________________________
    IPEVO VZ-R HDMI/USB plugged directly into a projector

    The IPEVO VZ-R HDMI/USB document camera can also easily be used to showcase items, live drawings, and book pages to the entire class, even without a computer! Since this document camera also includes an HDMI connection, it can be plugged directly into a projector for mirroring and streaming on a whiteboard with no need for a computer.

    ___________________________________________________

    IPEVO VZ-R HDMI/USB plugged directly into a monitor or TV

    Since many classrooms now use a large touchscreen monitor or flat-screen television for projecting to the class, the IPEVO VZ-R HDMI/USB can also be plugged directly into the HDMI port on the monitor or TV and stream live to the big screen! This document camera includes easy-to-access adjustment buttons to use in any mode, too!

    Full product manuals and information may be found here.
    _________________________________________________________

    TECH SPECS

    Price
    • $219

    Size
    • D x W x H (when folded)
      With base-4.57”x 4.25” x 11.85” (11.6 x 10.8 x 30.1cm)
      Without base-3.07” x 1.57” x 11.42” (7.8 x 4.0 x 29.0cm)
    Weight
    • 2.2lbs (1.0kg)

    Model
    • CDVH-03IP
    Color
    • Emerald Green

    Camera
    • 8.0 Megapixel
    • Full auto-focus lens
    • High definition resolutions-up to 3264 x 2448 (USB mode), and up to 1920 x 1080 (HDMI mode)
    • Up to 30 fps live video capture (at full HD)
    • Sony CMOS image sensor and a powerful Ambarella integrated system-on-a-chip (SoC)

    Output
    • HDMI and USB

    Maximum Shooting Area
    • 10.6” x 18.9” (270 x 480mm) [16:9]
    • 13.5” x 18.1” (344 x 460mm) [4:3]

    Compatibility
    • Works with Mac, PC and Chromebook

    Package Contents
    • Camera head and stand
    • Base
    • USB Type-C to Type-A cable (4.90ft/150cm)
    • Screwdriver
    • Screws x 4
    Mac

    Minimum Requirements
    • Intel® Core™ i5 CPU 1.8 GHz or higher
    • OS X 10.10 or higher
    • 2 GB RAM
    • 200MB of free hard disk space
    • 256MB of dedicated video memory (For lag-free live streaming up to 1920 x 1080)
    Mac
    Recommended Requirements
    • Intel® Core™ i5 CPU 2.5 GHz or higher
    • OS X 10.10 or higher
    • 4 GB RAM
    • Solid-state drive, and 200MB of free hard disk space
    • 256MB of dedicated video memory (For lag-free live streaming up to 1920 x 1080, and video recording of 1920 x 1080)

    Windows
    Minimum Requirements
    • Microsoft Windows 7 Service Pack 1 or higher
    • Intel® Core™ i3 CPU 3.20 GHz or higher
    • 4 GB RAM
    • 200MB of free hard disk space
    • 256MB of dedicated video memory (For lag-free live streaming up to 1920 x 1080)

    Windows
    Recommended Requirements
    • Microsoft Windows 10
    • Intel® Core™ i5 CPU 3.40 GHz or higher
    • 4 GB RAM
    • 200MB of free hard disk space
    • 256MB of dedicated video memory (For lag-free live streaming up to 1920 x 1080, and video recording of 1920 x 1080)
    ____________________________________________________________

    UNBOXING

    Below are two of the images taken I was putting the IPEVO VZ-R HDMI/USB through its paces. I attached the sturdy metal bottom plate, plugged it into my Mac, open the IPEVO Visualizer software, and I was ready to go!


    You can find out more details of the IPEVO VZ-R HDMI/USB  and learn about the company's other products on the IPEVO site!


    Friday, February 28, 2020

    Review of Robo™ Wunderkind Robotics Kit

    I admit it. I am not a coder. I have dabbled with block-based coding, Sphero, and some other products, but the last real coding I have done was in 1972 when I created punch cards to count from one to ten for the IBM System/360 at my high school!

    Pete Birkinshaw, Used Punchcard, https://www.flickr.com/photos/binaryape/5151286161

    So, when Robo™ Wunderkind asked me to review their Education Robotics Kit for elementary students, ages 6 to 12, they were happy to hear I was no expert, since the kit was so easy to use! (Probably these early learners have much more recent programming experience than I have!)

    Upon opening the box, I was presented with colorful cubes with electronics, wheels, buttons, lights, and more.


    The overview book, which explained the role of each piece, was easy to understand and I felt confident I understood each component.


    I took the items out of the box and arranged them in my workspace. I also charged up the orange Main Block with the included USB cable.


    Each color block has its own role.

    • The orange Main Block powers the robot, Bluetooths to the student's mobile device where they use the app, and controls all the other blocks.
    • The green Connectors have electronics, and both hold blocks together as well as allow block to communicate with each other.
    • The little green Lego® Connectors allow students to build up their robots by using Legos on the small baseplates.
    • The red Button is a smart button, which knows when students press and release it.
    • The yellow Light is just that...a programmable light source.
    • There are two large green wheels and a small, articulating green wheel.
    • The big red block is a Distance Sensor which measures distances to objects and well as detects sound.
    • The darker blue Motors helps a student's robot to move around.
    • The lighter blue block is a Servo which can rotate the robot to precise angles.
    • The green and black Wired Connector can connect blocks that are not next to each other and help go around the blind sides of the blocks.
    • There is also a little plastic pry bar which is used to separate the Connectors from the blocks, when breaking down the robot, in a way that protects them from too much force. Students under 10 may need some help when prying, since the Connector components fit rather snugly.

    The first step was to attach the Main Block to the app on the mobile device via Bluetooth. It was a simple process that students, once shown how to do it, would be able to complete. At various times, as I built the robot and snapped on pieces, the app prompted me to tap the screen to apply a quick little update to the piece. In addition, there was a firmware update for the Main Block, too. These updates were simple to apply, and completed by tapping a button on the screen of the mobile device, so students will have no problem completing the task.

    I then visited the Web site for a quick overview of the basics, and looked at some of the projects that were available.


    The robots students create are controlled from an iOS or Android device. There are two different apps to support the robots- Robo Code and Robo Live.

    The Robo Code app (iOS | Android) is the place to learn how to build, how to control, and to try building the sample robots in the tutorials. This is also where students can store, edit, and update their own projects. The sample projects showcase each of the robotic components, so students can learn about them and then experiment and create their own unique robots!

    The Robo Live app (iOS | Android) allows students to remotely control their Robo Wunderkind robots by using a drag and drop interface to control the robot's actions like driving, turning, making sounds, and blinking.

    I decided just to put some blocks together, based on what I had learned thus far, and came up with this simple robot. I actually clapped when it worked!


    I then did a little digging in the projects in the Robo Workshop in the Robo Code app and made both a flashlight, which used the Light, and created an obstacle avoider that used the Distance Sensor block.


    I had a ton of fun and learned how to both build and create code to make my robots do what I wanted them to do! I spent about 90 minutes reading the basics, creating my robots, coding my projects, and taking notes, photos, and videos for this blog post.

    I feel the Robo™ Wunderkind robotics kit and the two apps -- Robo Code and Robo Live -- would be a great addition to a STEM program or a class that includes programming. The drag and drop interface to code the robots is easy to use and has sounds, effects, timings, and more to allow simple or complex programming for the robots. The kit includes enough pieces to make fun robots and make robots do fun things! 

    Although the kit states it is intended for students ages 6-12, my recommendation would be to start with age 6 and go right up through high school. The Robo™ Wunderkind kit can be an introduction to electronics, programming, and coding at any age. (Even at my age!)

    Getting a Robo™ Wunderkind kit for every four students in a class would allow collaborative building and coding, along with the creative aspects of design, the math computations of angles, and classroom contests with the robots! 

    I received a Robo™ Wunderkind robotics kit to keep for writing this review.