
It always seems a bit odd to me that we set resolutions on January 1. I need some time to plan for the things I resolve to do for the next year. I decided to share these with you so you can start planning your tech resolutions for 2013 and be ready to go on January 1!
OPERATING SYSTEM RESOLUTIONS
One of the things I need to do is to become familiar with the mainstream operating systems I do not use on a regular basis. In order to think about what technology is best in various situations, I have to know about the pros and cons of various operating systems. Here is some information to help you get started if you want to do the same thing!
Windows 8
Windows 8 was recently released. I moved to the Mac OS right before Windows 7 was released, so I am already two operating systems behind on the Windows side! I can muddle through Windows 7, but Windows 8 looks and works differently from its previous editions. Did you know there are several "flavors" of Windows 8? Windows 8 Home/Pro is the computer operating system and will work with your regular software programs. Windows RT is the operating system currently on the tablets, such as Microsoft's Surface, and will only run applications that are available in the Microsoft Store. However, there is a planned version of the Surface which will be released with Windows 8 Pro and allow you to run the same applications you run on your desktop. Other manufacturers are also releasing "tabtops" (tablets that double as laptops) that will run the full version of Windows 8 Pro and take advantage of the new OS's touch capabilities.
- 50 Windows 8 Tips and Tricks
- An explanation of the different models of Windows 8/RT hardware
- Microsoft's Windows 8 page
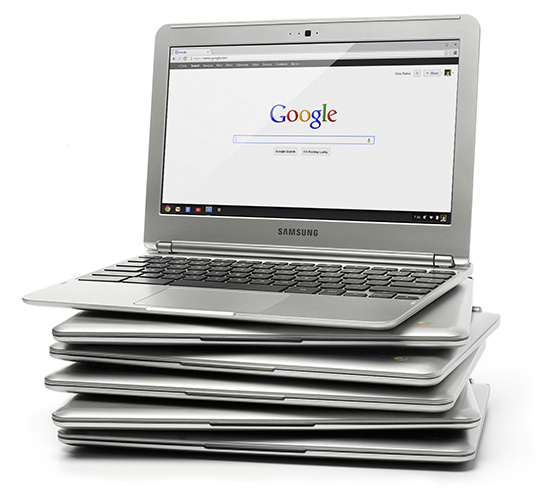
Google Chrome
I admit, I am a diehard Firefox user on my computers. However, as a Google Certified Teacher, I figured I better learn more about both Chrome as a Web browser and think about Google's Chromebook, which runs Chrome OS, as a classroom alternative for 1:1 initiatives.
I started looking the Chrome Web Store which provides the user with access to applications for Chrome, whether one is using the Chrome browser on a computer or the Chrome OS on the Chromebook. I was astounded by the number of really good apps that could be used!
- Official Chromebook page
- Google's Education on Air live sessions and archives
- Chromebooks in the Classroom Pinterest board
SOFTWARE RESOLUTIONS
There are certain pieces of software that I dabble in, but do not use to their full capability. I use these apps and software title almost daily, but need to spend some time learning how to use them right. I am guessing, once I learn all about these tools, I will be able to eliminate some of the other tools that do the same thing, but not as well as the ones below.
Apple's Pages
I have used Microsoft Word since I first loaded it up on a 5 1/2" floppy disk on my IBM 5150 in 1985. (Yes, all of Word fit on one 640K floppy disk back then!) I have been a big user of the Office Suite since it was first introduced in late 1996. My favorite program in the Suite was Microsoft Publisher, and I went on to co-author a book about the use of Publisher in the classroom.
However, Apple's Pages, one of the iWork components, is a cross between Word and Publisher. Whether I am using it on the computer or on the iPad, the ease of moving text boxes and images around and wrapping text is as simple as dragging. The ability to create separate objects that can be manipulated is very reminiscent of Microsoft's Publisher. (PS If you use a Mac, iPad, Chromebook, or Android device you can still get access to Publisher, for a $50 per year price for educators, using InstallFree Nexus.)
Resolution 3: Use Apple's Pages instead of Microsoft's Word for two weeks. Blog about the experience.
Evernote
Evernote is kinda like the Swiss Army knife of the app and online utility world. I use Evernote a bit, but am amazed when I see what the experienced users do with it. Evernote allows you take a note, snap a photo and record audio to go with it if you want, save entire Web pages to your Evernote account, collaborate on projects and share assets with others. There are easy-to-use folders to help organize your material and the ability to search your items.
The wonder of Evernote is it works from all devices and syncs anything you do to all devices. On your computer via the Evernote client, on your tablet via an app, from many pieces of software, including any number of apps that allow you to upload to Evernote, as well as the Livescribe Pen software, everything looks and feels the same!
Introduction to Evernote video
Resolution 4: Use Evernote. A lot.
Adobe Photoshop Elements
Adobe Photoshop Elements is now up to version 11, and, besides having a new interface, it provides all types of really powerful tools that makes editing images and creating new images a breeze! As an Adobe Education Leader, I need to keep up on the newest version to help other educators learn how to use it.
This image editing software, if you have not seen it in a while, has come a long way from the early days! There are now three ways to use it-- Quick, Guided, and Expert modes. It is easy to move back and forth among the modes to allow for more or less options. There are several ways to pull images out of a photo, get rid of trees that seem to be growing out of a subject's head in a photo, and even a way to get rid of a movement blur in an photograph.
One of my favorite things to do with Photoshop Elements is to put images behind letters to create a cool title for a Web page. Her is one I created for my infographics page, with infographic samples making up the letters in the word.
If you have access to Photoshop Elements 11 or download a trial version, try using some of the great images from the Discovery Education Streaming photo collection to make a cool title of your own! I used a photo of a galaxy in the collection to make this STARS title.
Resolution 5: Learn Photoshop Elements 11 inside and out. Watch the tutorials on Adobe TV.
To summarize my tech resolutions for 2013...
- Upgrade my netbook to Microsoft's Windows 8 and learn the new interface.
- Buy a Google Chromebook and use it exclusively for a week for everything. Blog about it.
- Use Apple's Pages instead of Microsoft's Word for two weeks. Blog about the experience.
- Use Evernote. A lot.
- Learn Adobe's Photoshop Elements 11 inside and out.


